This is my first time(in my adult life) doing an aircraft kit.
I chose the F-117A Nighthawk bcos I simply love the design and also bcos minimum painting is required.
Work-In-Progress
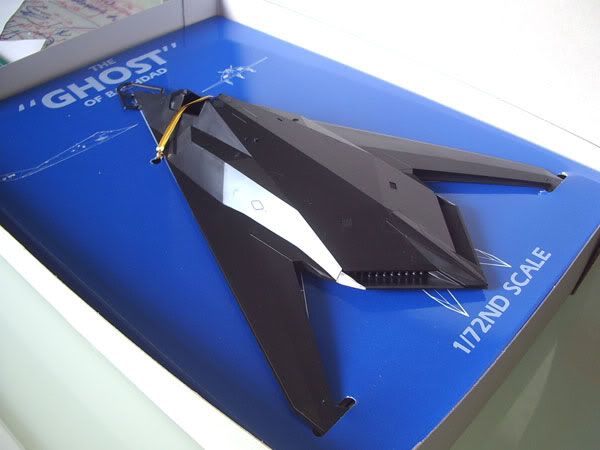
The box art.

Fancy way of mounting the plane's body, I like.
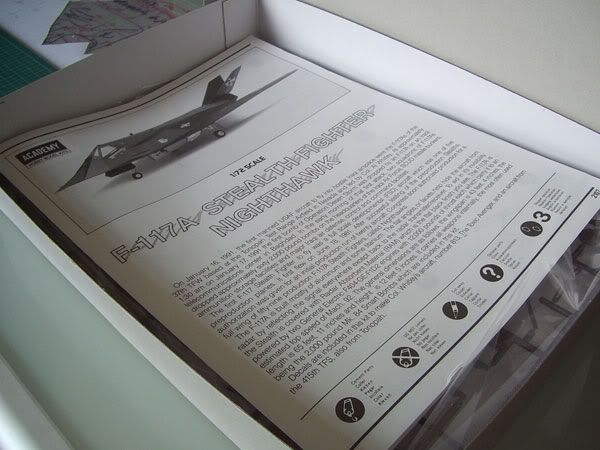
The simple one piece manual.
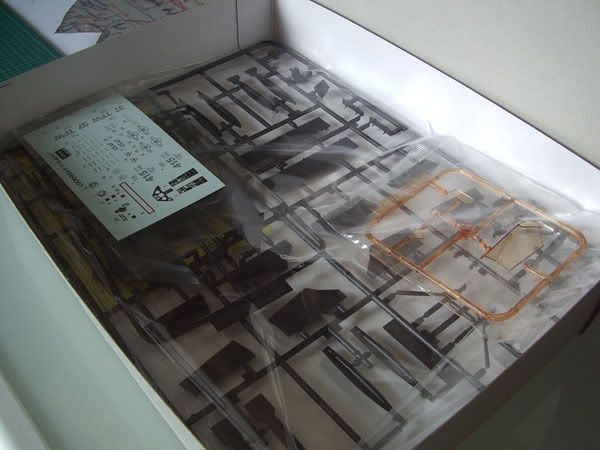
The contents(includes a sheet of waterslide decals).
The good thing about model planes is that the quantity of parts is small and the kits are cheap(unlike gunpla).
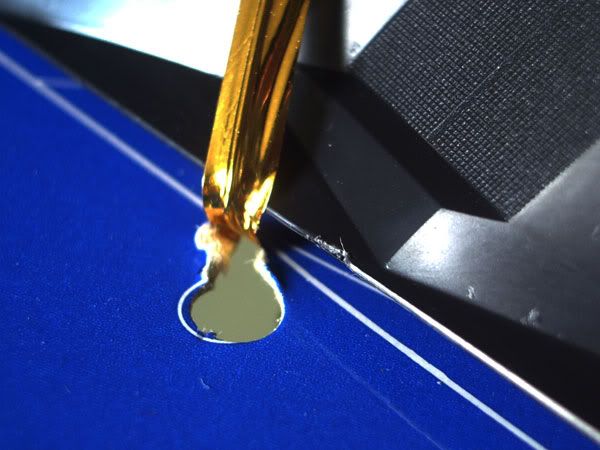
I dunno if the twisty wire was done manually or mechanically but knn it sliced right into the plane's body.
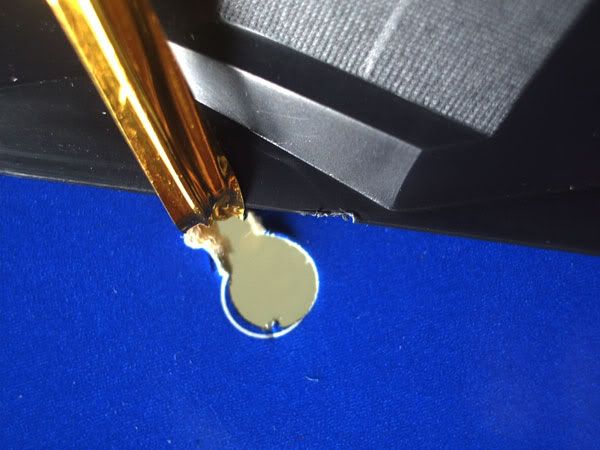
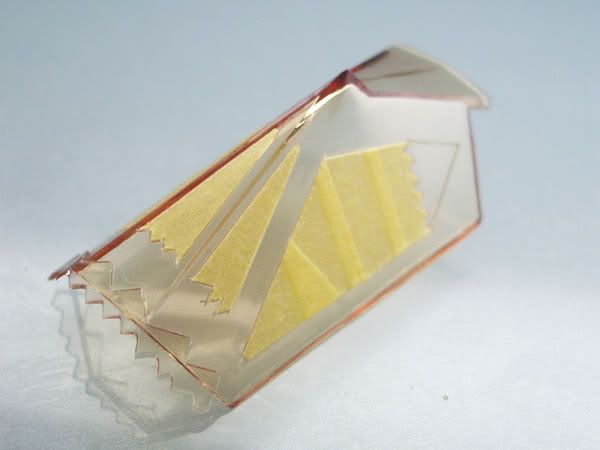
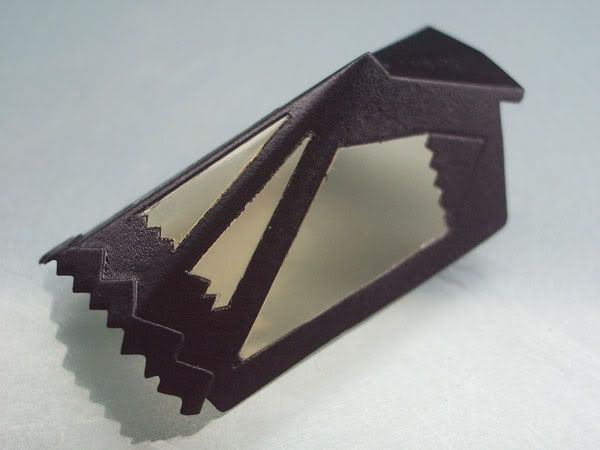
The cockpit & canopy.
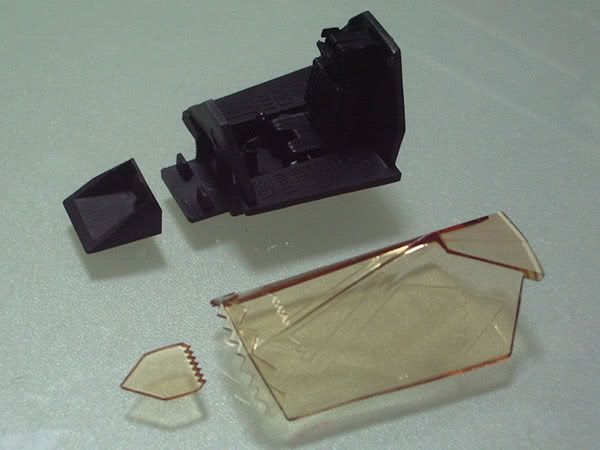
Nahbeh......now then I realised that the black frame of the canopy needs to be painted onto the tinted plastic. It also looks like an extremely detailed masking task.
All masked up.
(Not shown: the underside was also taped up)
Primed, spray painted & topcoated.
Peeling off the mask.

I've encountered many times while peeling off the masking tape, the paint around the edges also come off as well(bcos industrial paint is too thick).
So this time I used the hobby knife to go round the edges before peeling and it worked like a charm.
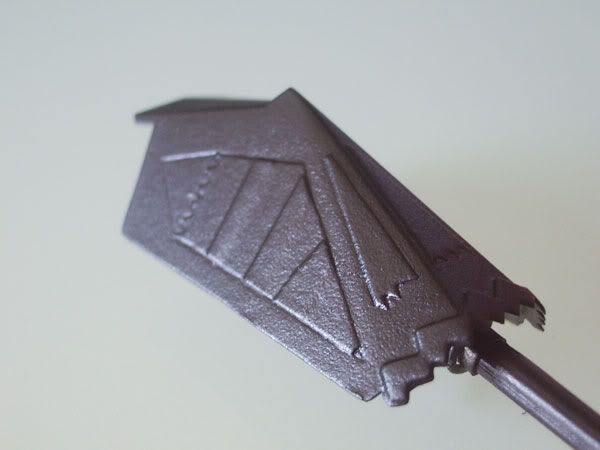
Canopy Done.
Pilot's seat.
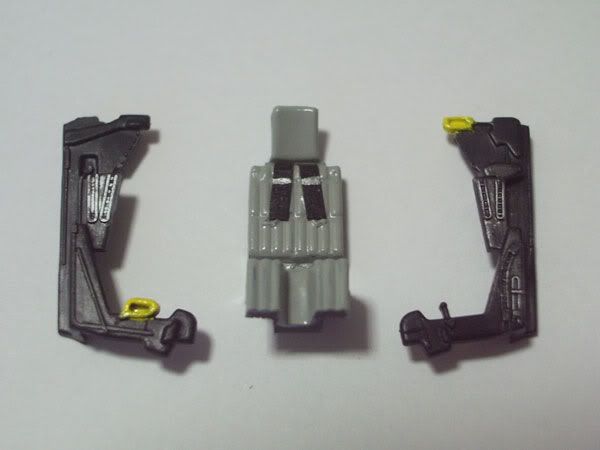
The straps are PCB tape painted with a tinge of silver.
Cockpit.
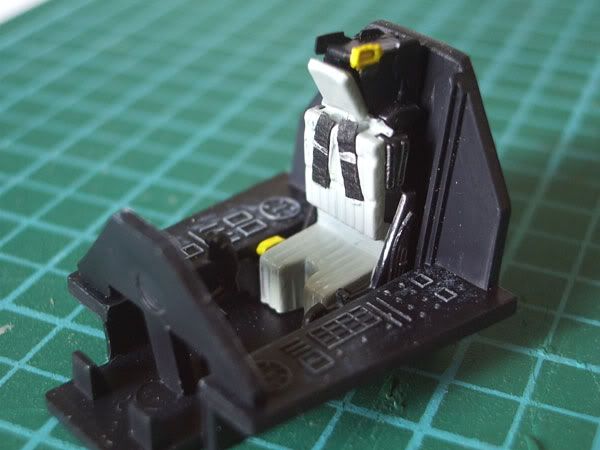
Details are drybushed with white to bring them up.
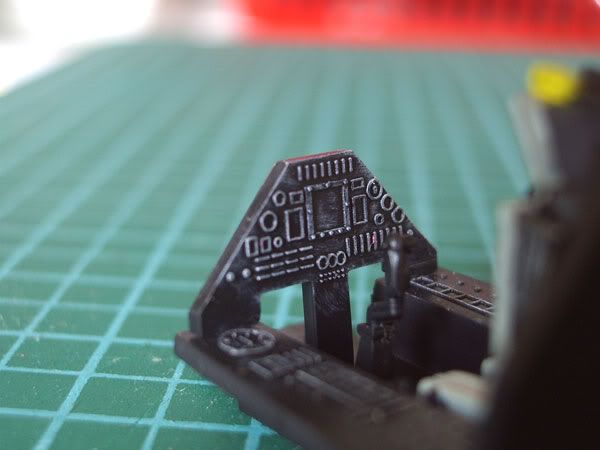
Control panel.
Masked various parts, primed and sprayed white.
Stucked the legs on top of the masking tape to be painted at the same time.
Don't waste paint.

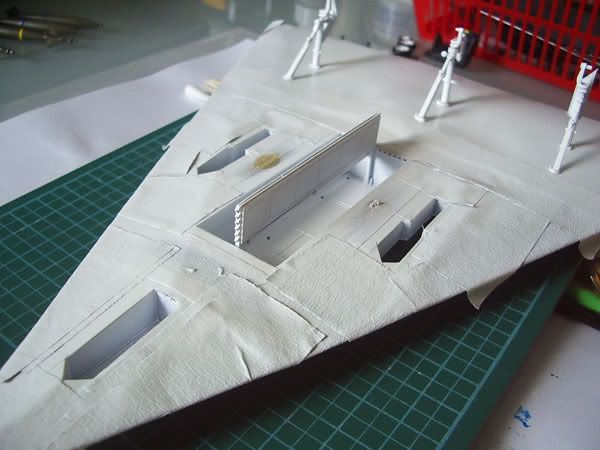
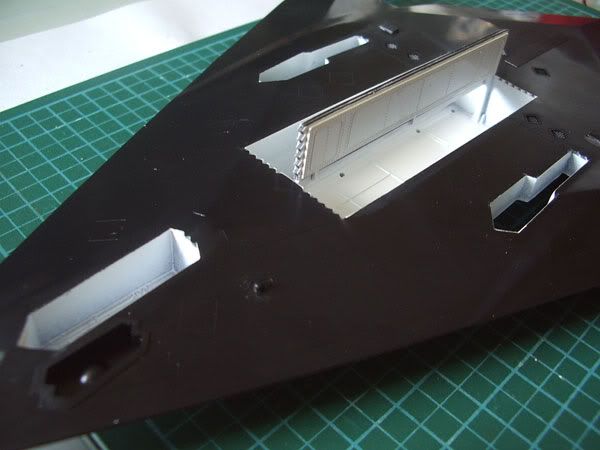
The front wheel compartment.
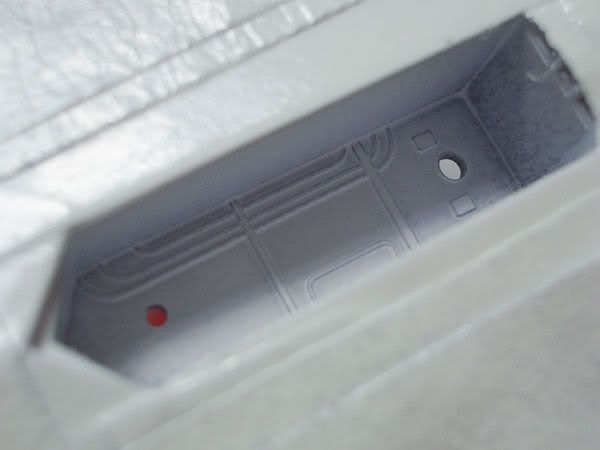
Needs to be touch up by hand later.
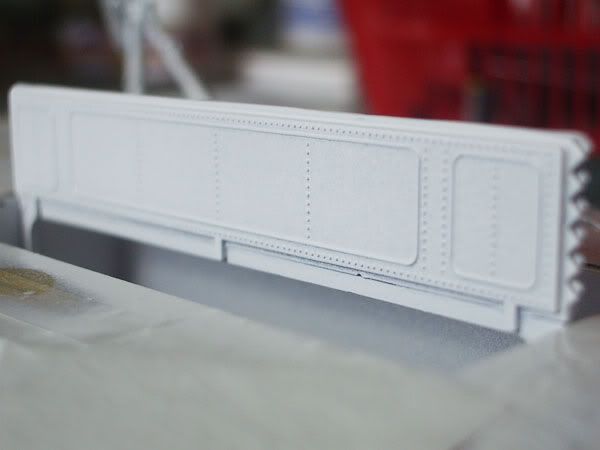
The bomb bay doors.
The doors of the three wheel compartments.
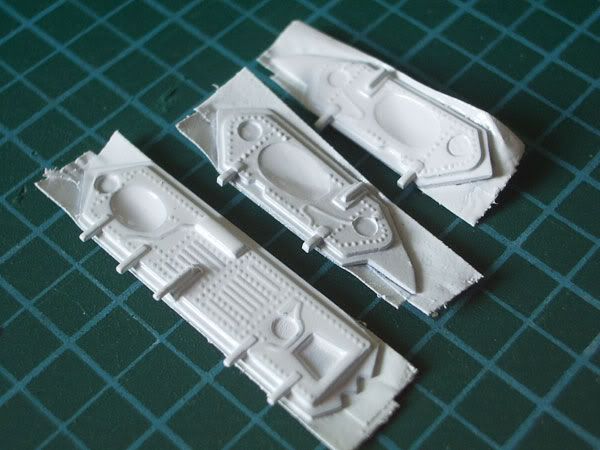
The details of the top one is sorta faint bcos it has too much paint.
Wheels.
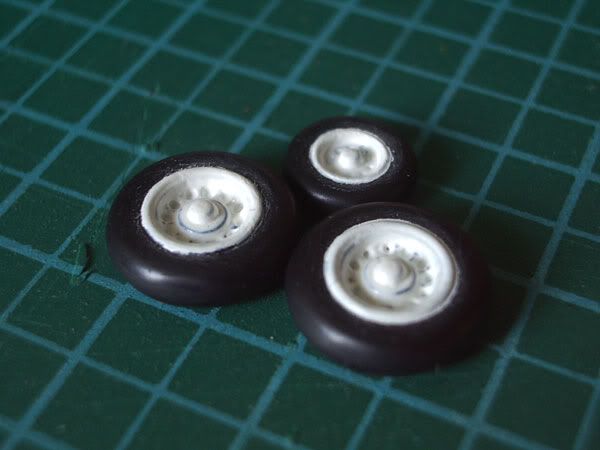
They were handpainted, that's why they look abit rough.
The underside.
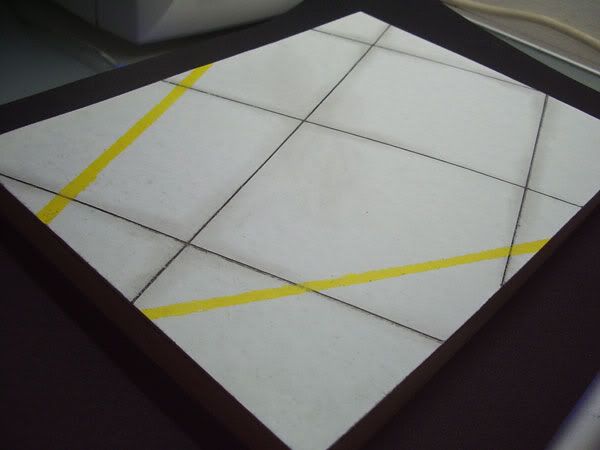
The plane & base.
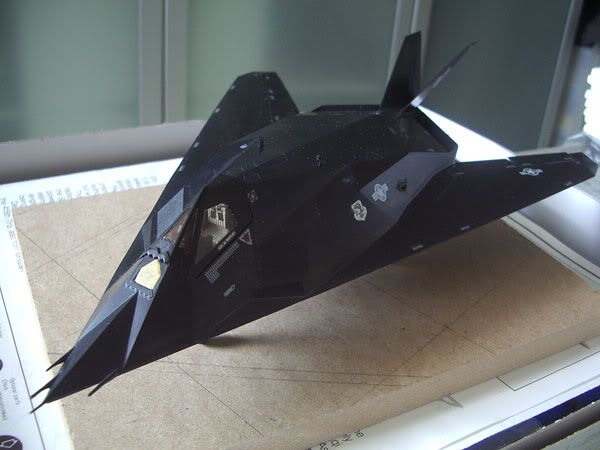
Plane lacks a topcoat. It's pretty dusty, need to brush away the dust first before applying the topcoat.The base with a bit of rough sketch of the tarmac. Later the sketch is to be drawn on a cardboard(courtesy of Cow)(those that come with your long sleeve shirt).
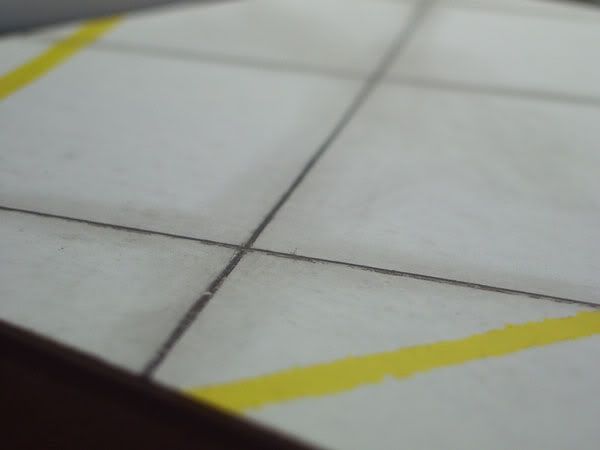
Tarmac.
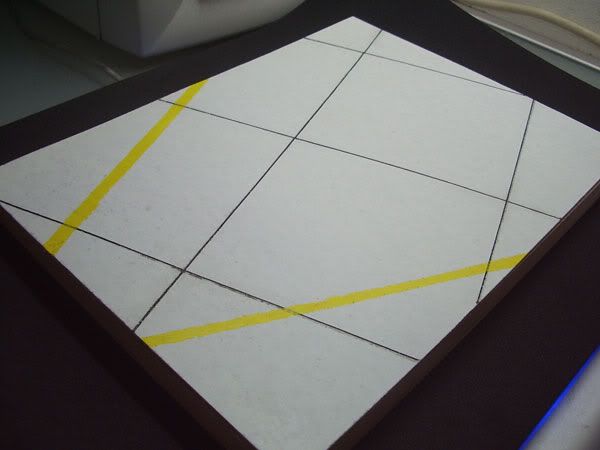

Weathered tarmac.
Almost done.
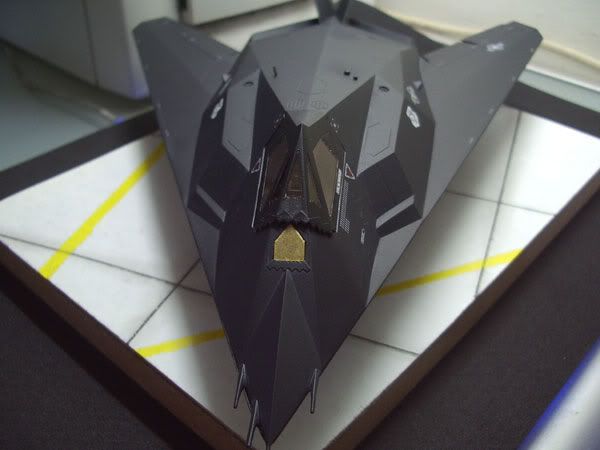
Maybe paint the MDF board grey or something before I attach the tarmac to it.
And remove some small masking fr the plane.
Useful links:
Drybrushing the instrumental panel
How to create a tarmac
posted by Laurens @ 1:04 PM
![]()

0 Comments:
Post a Comment
<< Home