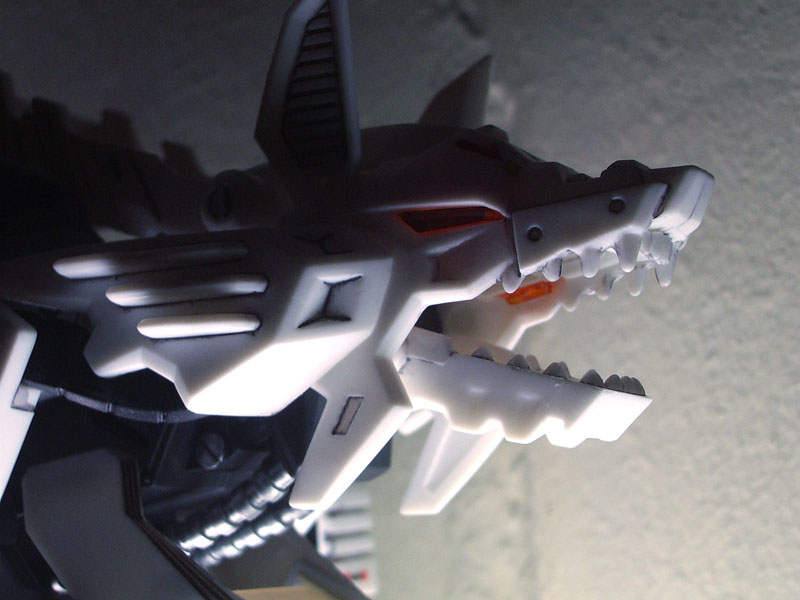
ZOIDS - KÖNIG WOLFBought this at Seiyu off of its discount pile at $27.90.It's white in color, thought it'll go well on the top of my CPU. In the midst of construction.
 Completed, with panel lines as well.
In a different light(stickers are applied too).


Wanna see it walk?
http://www.youtube.com/?v=AmZd1-Ryd4M
Click Here To Read More
The Alclad ExperimentI refuse to believe that the "Alclad II Lacquer - Chrome" can only be applied with an airbrush.So I bought a bottle from STORM domain @ Shaw Towers @ $14.I allowed the paint to settle overnight because the contents in the bottle was approximately 80% thinner and 20% paint.
Then I used a dropper, dip it to the bottom of the bottle, suck up the essence of the paint and transfered it to another clean bottle for storage.
I read from the official Alclad website that chrome is to be applied over a primed surface.
The surface should be primed with gloss enamel black.
"Chrome and only chrome should be used over gloss black model enamel paint."Well, what I have is FLAT black enamel and mr. color black gloss.
So I took an empty tree, painted a part of it with enamel and another part with mr. color. Then I hand painted the fairly concentrated Alclad chrome on the primed surfaces as well as on an unprimed surface.
Here are the visuals:


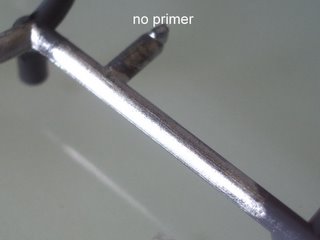
From the pictures, everything looks shiny.
But in actual fact the flat black enamel primed surface produced better results.
The chorme appears shinier and the paint spreads out more evenly and easily.
As for the mr. color surface, the outcome is rather dull and there wasn't enough sheen.
The unprimed surface gave similar results like that of the mr. color surface.
Click Here To Read More
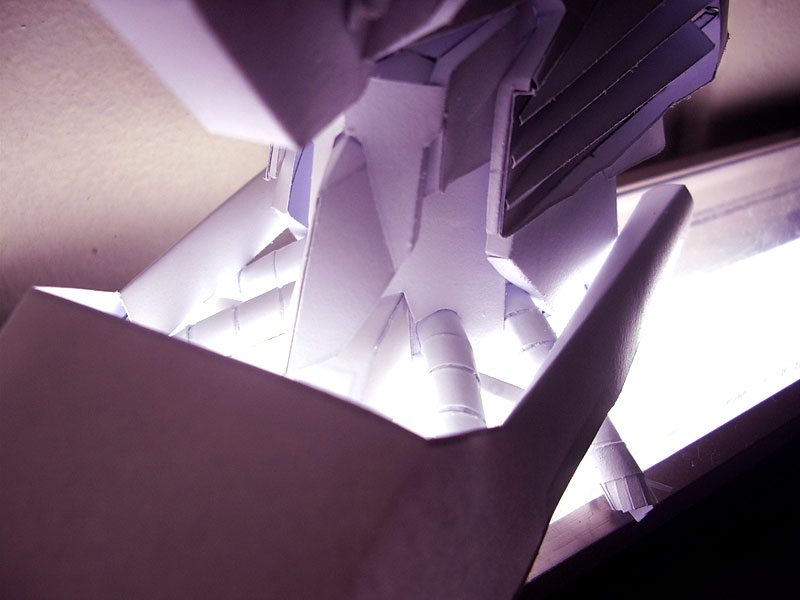
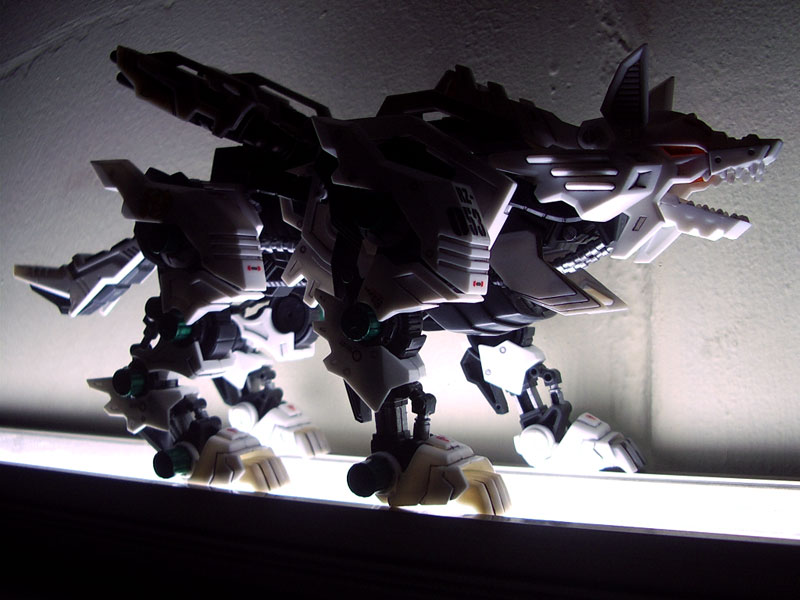
Photography SetupUsing a fish tank fluorescent light and white mahjong paper.This is the setup. Untouched pic(with room light ON & fluorescent light ON).
Untouched pic(with room light OFF & fluorescent light ON).

Retouched with photoshop(with room light ON & fluorescent light ON).

Retouched with photoshop(with room light OFF & fluorescent light ON).

Click Here To Read More
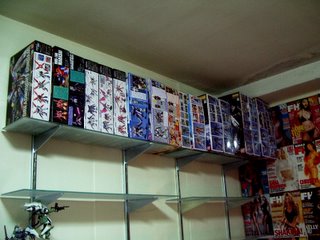
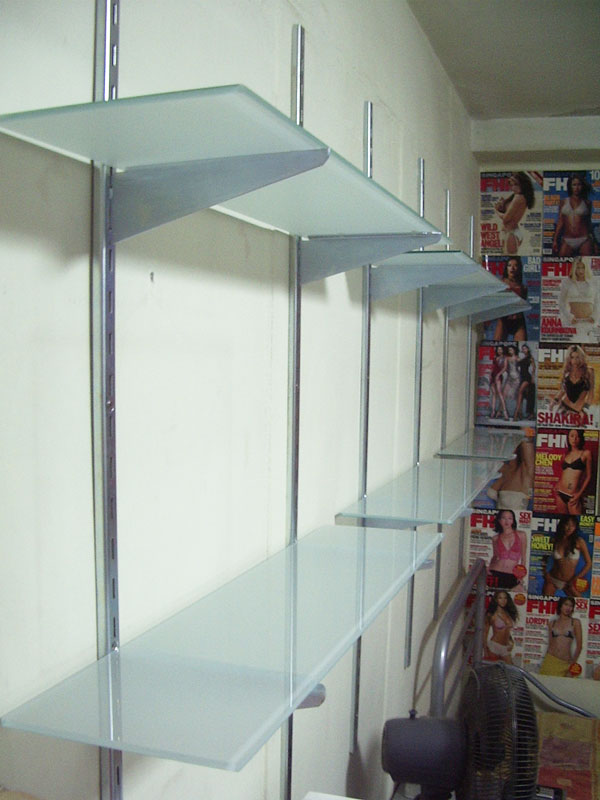
Shelving SolutionsI knew one day I'd need more space to put up my gundam model kits.For weeks, I've been planning how and what kinda shelves to use.I even drew up a 1/10 scaled plan on a piece of paper to see how it'll look.Finally, I settled on KV Shelves.They look like those adjustable shelves you'd see in departmental stores.It's the industrial look that I love about it.I bought my materials from my local hardware store and the glass shelves from IKEA.It's pretty cheap; the frame, brackets and stainless steel screws totalled up to $64.50 while the glass shelves are $8 each.Before After
After


Looks pretty cool, doesn't it?
And I can't believe I spent my new year's day doing up the shelves.
It took me about 5 hours to measure, mark, drill and fit the shelves onto the wall.
Soon, I'm gonna be expanding this shelving unit to 11 or 12 shelves.
Updated:
I bought 3 more shelves from IKEA and the required brackets from my hardware shop.
Now I have a set of 9 shelves.
My Gundam backlog is arranged on the top shelves while the completed kits are displayed below.

The completed kits(as of 05 Jan 2006).

The backlog(as of 05 Jan 2006).
Click Here To Read More


